


How To Assemble Your Swing Set
Swing sets – especially new swing sets – will fundamentally change the look and feel of your backyard. If you want a sure-fire way to introduce joy, endless hours of playtime and enjoyment, sparking of the imagination and so much more…a swing set can accomplish all of those things and more. While it’s not science, the proof is in the pudding. But along the way, while looking at different options and models, you may have thought this particular project would be too big of a burden. After all, how many swing set parts do you need, and how long do these things take to put together?
Your questions and concerns are not unfounded! These are common, and the good news is they’re easy answers and easy fixes. Swing sets are a bit more significant of an undertaking than, say, an out-of-the-box playhouse or a tent, but swing set assembly is made so much easier with a proper plan and the right materials.
Think of how many swing sets you’ve come across in your life. On the playground, at a public park or in your neighborhood/backyard, there are so many shapes and sizes – and as time goes on, swing sets get even more elaborate. But isn’t that part of the fun? (yes, because it’s all supposed to be fun)
In this blog, we’re going to break down the basis of swing set parts – simple, straightforward swing sets to start – and also give you more information about the assembly. Think of this as “Swing Set Construction and Assembly 101.”
Ready to get started? Let’s go!
Starting with the basics: Swing set parts
Structure or foundation
Simply put, the foundation or structural element of your swing set is its central nervous system. Whether you’re interested in a single post setup, T-swing, bipod or something else, the first step is figuring out what model of swing set you are going to install. The best way to know? Taking a hard, long look at your backyard’s footprint and making an informed decision about which will be the best fit. A tripod swing set – with three sets of posts anchoring it to the ground – probably isn’t the best fit for a smaller yard. Conversely, if you have more space, you can expand the footprint and allow for more posts and swings.
Chains and hooks/hangers
These are crucial components to your swing set assembly. Whether you have wooden swing set accessories or you’re using a guide supplied either in-store or online, you’ll always see instructions for the chains and hooks for each swing. These pieces are going to secure the swing to the top of the structure, allowing each swing to, well, swing back and forth. It’s even more simple when you think of it this way: the hangers attach to your swing set’s top bar, and each swing gets two chains to allow it to hang down and connect to the seat.
Seats
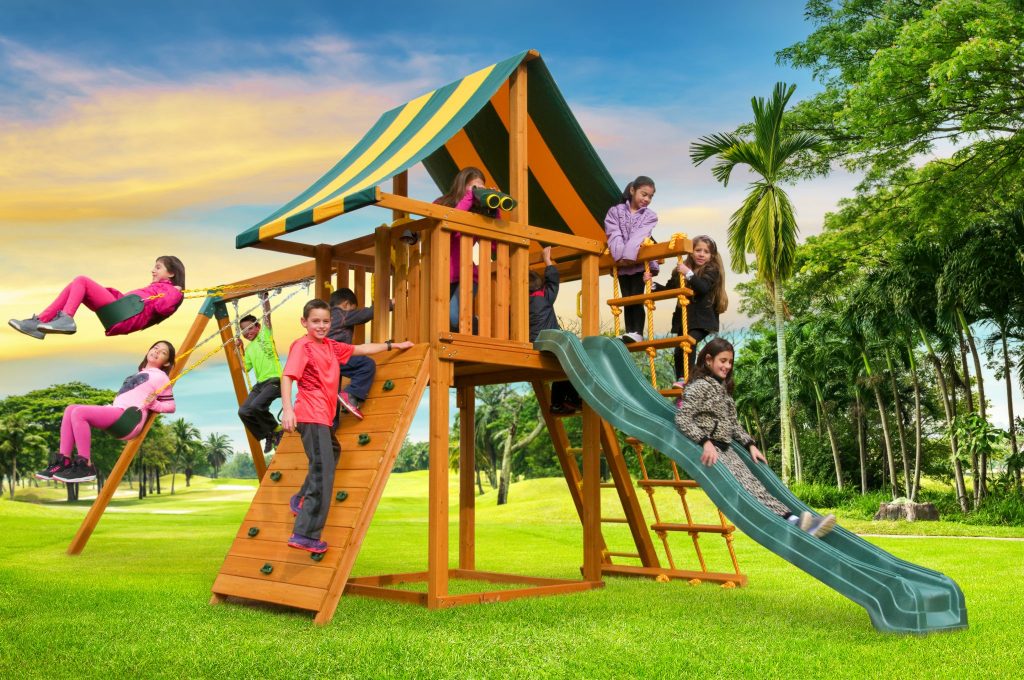
Alright, we’re getting down to the exciting part of swing set assembly! Now that we’ve covered most of the swing set parts you’ll need, it’s time to pick a seat style. A lot of this is based on preference (or what your kids are most comfortable with), but it’s also about whether you plan to let your kids grow with the swing set or upgrade as they grow. There’s no right or wrong answer; it’s totally up to you! Bucket seats are more supportive for little ones and belt seats are most common for older kids (and typically what you’ll see on a common playground). You can always swap out seats as the kids get older, too – which is what we recommend, especially if you’re planning to keep the structure intact. You can also choose to get a little fancy and add a tire swing on the end, which is easily done if you have a bipod or tripod swing set structure.
Under-the-swing-set material
Ideally, your swing is going to get a lot of playtime! That means the backyard and areas in and around your swing set will see a lot of foot traffic. It’s important to make sure these areas are both safe and comfortable for kids to use for hours at a time – so we’ve compiled a list of materials that are beneficial to place under your swing set to serve as a base. We know from research that swing set safety is critical but often not given enough attention: each year, more than 200,000 kids are sent to hospital emergency rooms with injuries sustained on playground equipment – many occurring because the swing set isn’t installed on the proper surface.
The materials under your swing set (rubber mulch is a top choice) should be shock-absorbent, durable and it lasts a long time. And, because it’s an artificial material, you won’t run the risk of attracting bugs or pests as other materials can.
Swing set borders and ramps
Because the swing set is built in your own backyard, you should consider giving it its own defined area. For younger kids, this is especially helpful because they know and understand where playtime happens and where to be cautious – particularly as they enter and exit the swing set area. Ramps are great additions for accessibility and borders can protect those both inside and outside of the swing set area.
Swing set assembly: Our top tips
Location
This is priority No. 1 for swing set assembly, for a variety of reasons. Kids are running, jumping, and playing nonstop – so the safest and most sensible location is where you should build your swing set. Ideally, your swing set is installed on a flat and accessible area that’s away from the street or any high-traffic areas. Parents prefer a swing set that’s visible from the windows of the house (kitchen window views are popular) so activity can be monitored when you need to.
We’re often asked: how much room around the outside of the swing set should I afford? In an ideal world, the swing set will have 6-8 feet of breathing room around the perimeter. Because of the frenetic nature of kids and playing on a swing set, you want to have as much room as possible without infringing on the home, gardens, etc.
Size & design
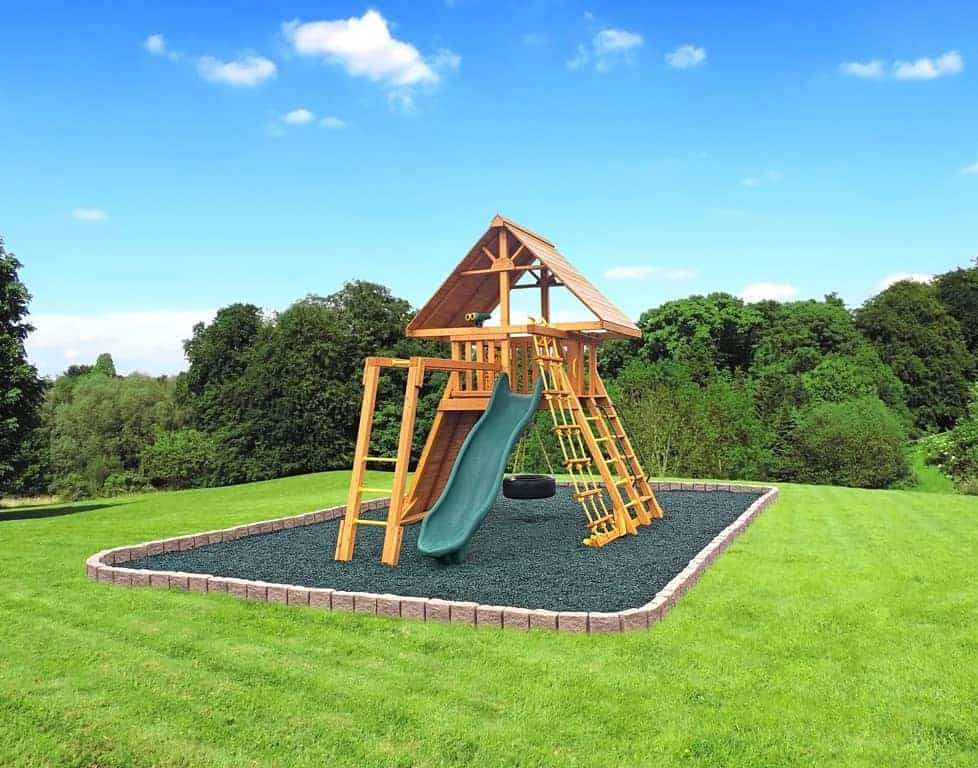
First and foremost, size and design depends on the backyard you’re working with. Wooden swing sets, like those sold by your pals at Eastern Jungle Gym, are durable and will give your kids years of fun. While occasional maintenance is required, the wear and tear on a wooden swing set isn’t nearly as profound as other materials like vinyl and metal, which are more susceptible to elements like heat and rain.
Prep
Now we’re getting ready for showtime. Your yard is probably sparkling and clean already (we’re giving you a lot of credit here) but a thorough sweep is necessary before you get ready to build your swing set. Swing set assembly is made easier – though, with EJG’s DIY swing sets, it’s already a breeze – when your yard is properly prepped for the build. A short-but-useful checklist includes clearing the yard of debris, moving other items in the backyard clear of the area so you have a neat space to work with, and staking off the swing set’s footprint so everyone knows this is where you’re going to build.
Leveling
Not every backyard is perfectly level. For swing set assembly, it’s going to need to be as level as it can possibly be. Once you’ve measured and marked (staked) the playground’s perimeter, use a carpenter’s level to make sure the ground is level. If it’s not, you can use a shovel and remove dirt as necessary until you’re ready to go. The depth of the hole you dig will depend on how much under-the-swing-set material you choose for the base.
Surface options
Remember what we were saying about rubber mulch? Well, it’s rubber mulch’s time to shine right here and now. Swing set and playground surface materials are responsible for keeping kids safe while they’re using the area, and the more surface material, the more cushion they’ll have. Ideally, you will have 9-12 inches of surface material at the base of your swing set assembly. In addition to rubber mulch, other material options include:
- Sand or pea gravel
- Wooden mulch or wood chips
- Rubber mats
Did we mention that rubber mulch is recyclable? Wink, wink. Nudge, nudge.
Anchors
Okay, we’ve reached the final step in your swing set assembly. But, we’re going to keep it real with you: this is one of the most important parts and it requires a lot of attention to detail. When you buy your new swing set as a kit (and at EJG, we supply you with all the hardware you need for your swing set build) you’ll get stakes to keep the playset anchored and safe when conditions get a little sketchy. Swing set anchors are driven/screwed into the ground and bolted to the swing set’s foundation once installation is complete.
Every swing set model is slightly different, so we recommend reading your swing set’s assembly instructions to properly anchor it once you’ve finished the build. Guess what? We’re almost there. The anticipation is building. Your kids are probably getting impatient, but what’s new?
Testing & safety
The final-final step before turning your kids loose on the swing set is to test it out. Now, you can go back to your childhood and hop on the swing, but obviously these aren’t made for adults (though they will support you in most cases). Pull and push on each swing to make sure it’s secure. Pull the anchors to ensure they’re locked in. Once you’ve gone through this short checklist, open the door and let your kids have some fun!
Eastern Jungle Gym swing sets are easy to assemble!
And they’re an endless amount of fun.
Since 1992, we’ve been building top-rated cedar swing sets for families across the United States. Building a swing set used to be nearly impossible, but now, with Eastern Jungle Gym’s wooden swing set plans, assembly is a breeze because each cedar swing set comes standard with swings, hardware, and parts. Most customers say they built their wooden swing set in as little as 2 hours.